How a lithophane is madeFrom an ordinary image to one that only appears with light
Switched off, it's a white plate in relief. Look closely and you see bumps and grooves, but you can't really make anything out. Turn on the light behind it and, all at once, a face appears. A dog. A beach. That's a lithophane.
It isn't ink, it isn't a screen, it isn't a projection trick. It's an image made of thickness: where the material is thinner, more light gets through; where it's thicker, less does. And today we make it with a 3D printer, from the image you send us.
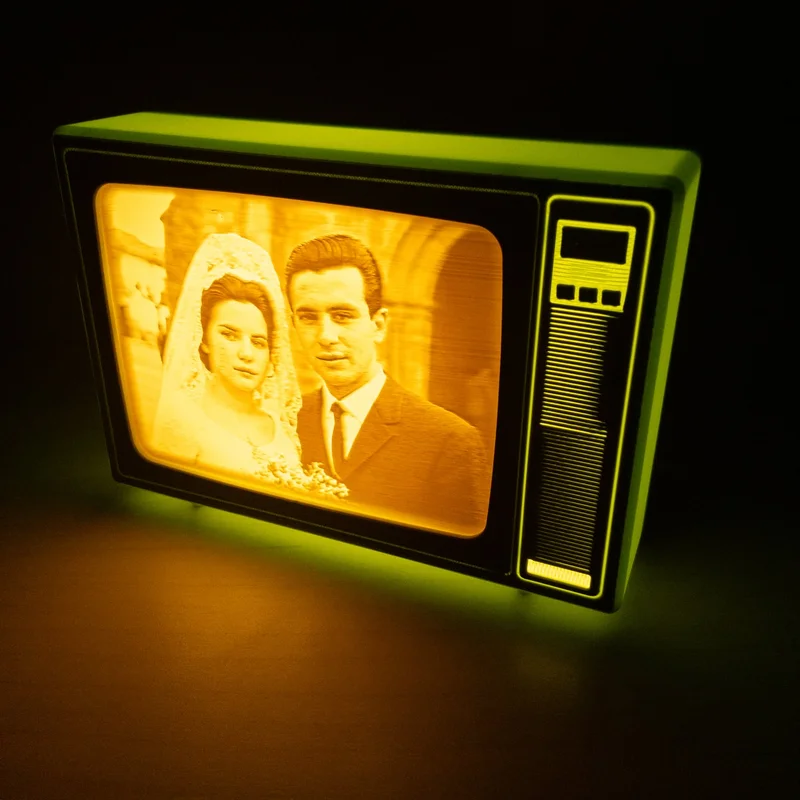
This is the journey from your file to the screen of a retro TV.
An idea two centuries old
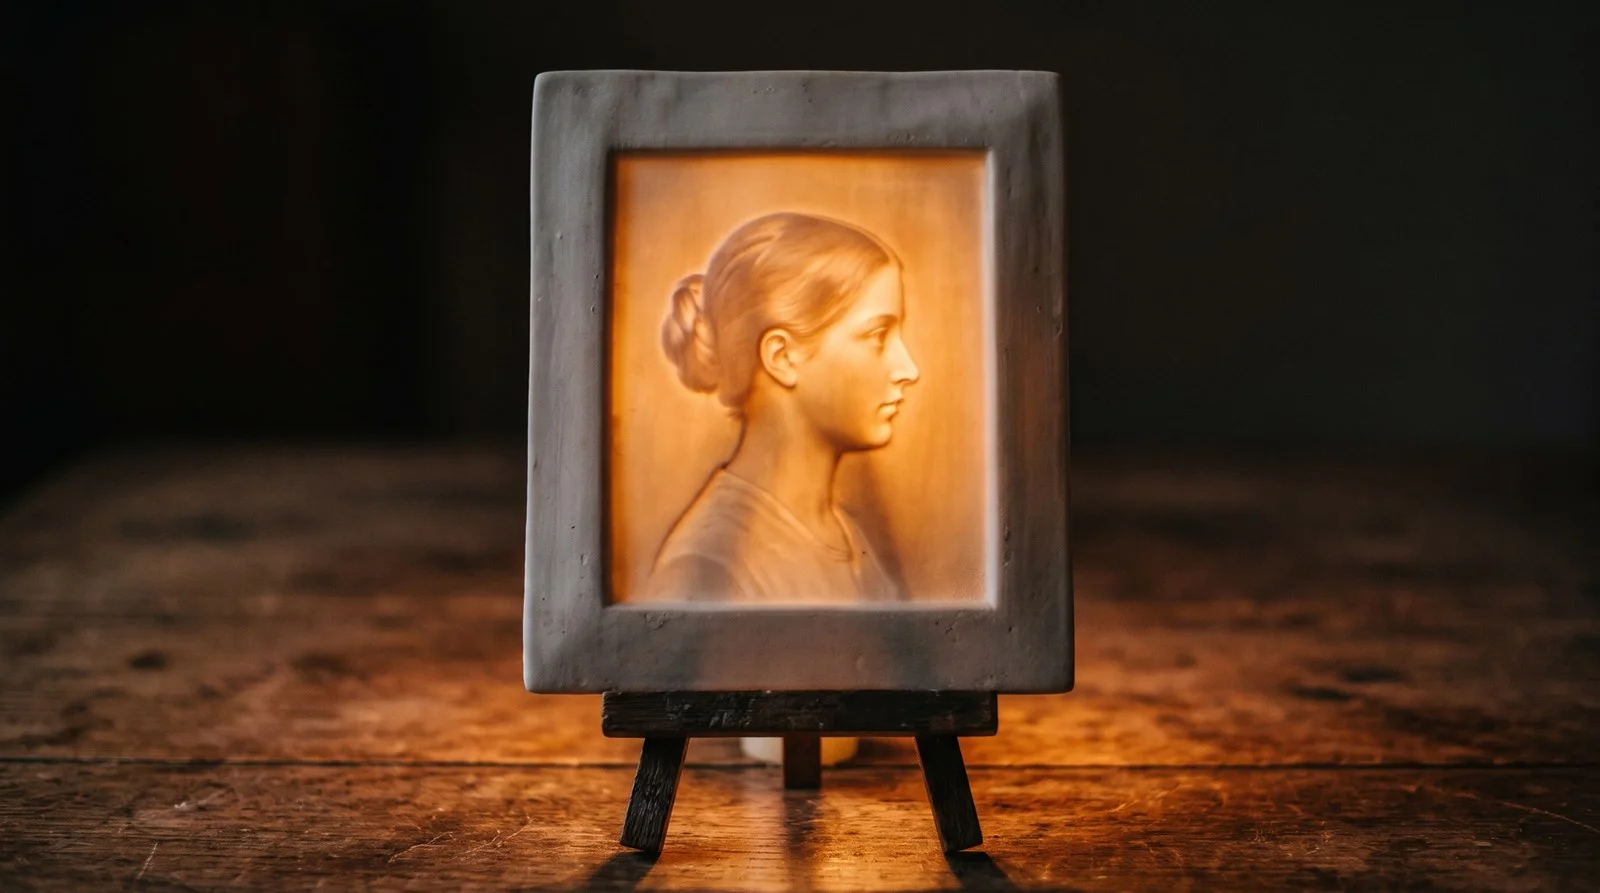
Nobody invented the lithophane with a printer. It was born in 1820s Europe, in porcelain. Craftsmen carved the image in wax at different thicknesses and reproduced it in wafer-thin porcelain. Then they set it in front of a candle or in a window: against the light, a portrait or a scene appeared. They were used in lampshades, in the bottoms of cups, in lanterns.
The principle is the same one we use today. The image isn't painted on the material; it's in the material. All that has changed is the tool: where there was once a chisel and a kiln, there's now a file and a 3D printer.
Your image, turned into relief
It all starts with the image you upload when you place your order. You frame it in landscape, in 4:3, and see a preview of how it will look on the screen before you pay.
Then we convert it to greyscale and translate it into thicknesses. Every point in the image becomes a height: light tones end up thin, almost see-through; dark ones thick, so they block the light. The result is a three-dimensional model that, seen from the front, is a map of shadows.
This is the secret to why some images work better than others. A well-lit face with a clearly separate background translates into very different thicknesses and shows up strongly. A dark image, or one full of tiny detail, becomes an almost uniform plate, and the light has nothing to draw with.
Layer by layer
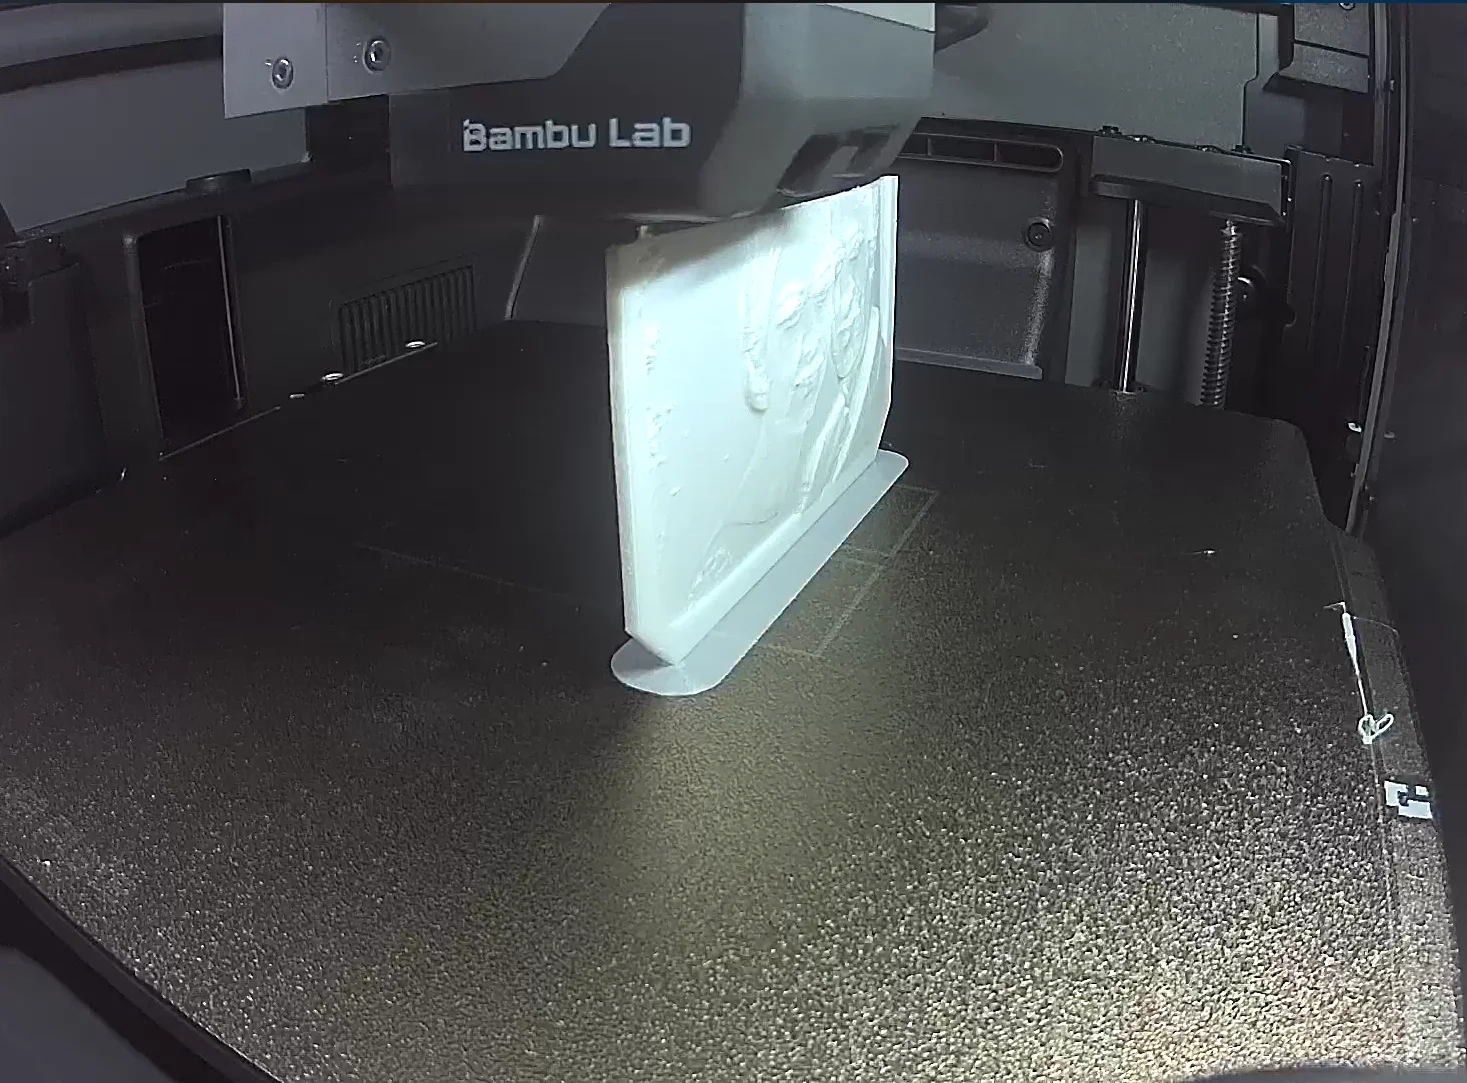
The model goes to the 3D printer. The lithophane is printed in white PLA, a plastic that lets through just the right amount of light, in very thin layers, one on top of another, for hours. It isn't a quick process: a retro TV screen is small, but every layer matters, because one badly laid layer is a streak across the image.
Ours, what's more, isn't flat. It's curved, with the bulge of a good old tube TV. That gives it the retro look of an old-school screen.
When it comes off the printer, we check it switched on. If it doesn't glow as it should, we make it again. No lithophane leaves the workshop without us having seen it lit up first.
The light that changes everything
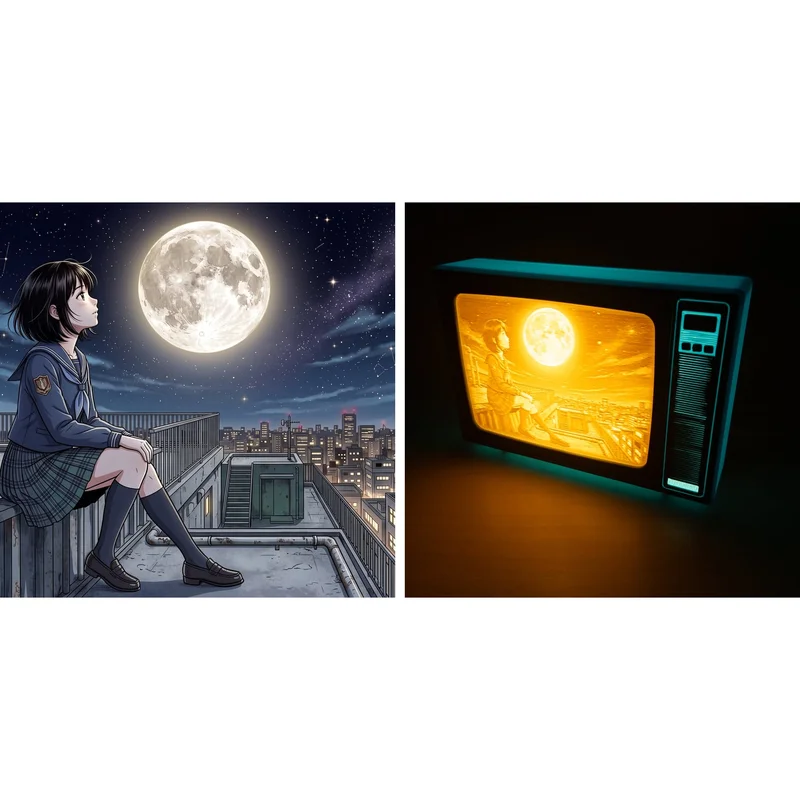
With no light behind it, a lithophane is a white relief. Pretty, but silent. The image appears when light shines through it, which is why choosing that light matters as much as the printing.
We use a warm-white USB LED drawing under 1 W. Warm light makes the image appear in sepia tones, like an old photograph, and that isn't an added effect: it's the natural colour of light passing through white plastic. That's why a lithophane never shows in colour. On the retro TV, the colour comes from the housing.
It uses so little power that you can leave it on all night on your bedside table. It comes with its USB-A cable, works with any USB-A charger (charger not included) and switches on with a button on the back.
Inside a retro TV
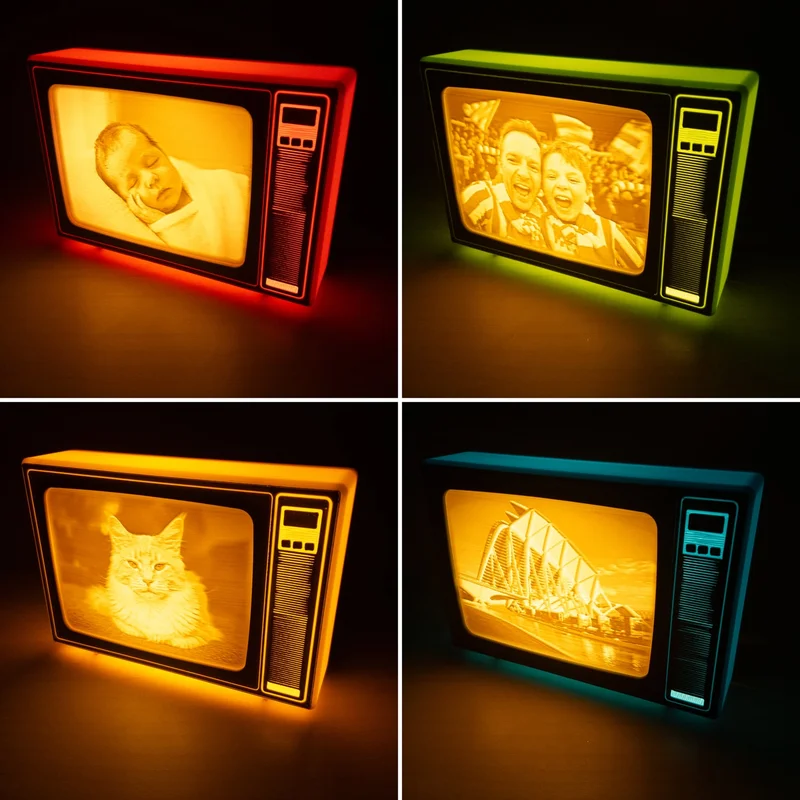
The lithophane is fitted as the screen of a miniature TV, also 3D-printed in our workshop in Gijón. You choose the housing in pink, green, yellow or blue, pastel shades that deepen when the light is on, and the front is graphite grey. It fits in one hand.
Printing, fitting the light, testing and packing: it's all done here, one by one, to order. Every TV that leaves us carries an image you won't find in any other.
- TV size
- 14 × 10 × 8.5 cm
- Image format
- 4:3
- Material
- PLA
- USB LED, warm light
- < 1 W
- Marking
- CE · RoHS
- Made in
- Gijón, Spain
Now that you know how a lithophane is made… fancy seeing yours lit up?